Tutorial about how to integrate SVG file in Android Studio.
Open Android Studio and create a project (see here how). Application namefor this example is SVG.
In project structure in app -> res right click -> New -> Directory create New Directory.
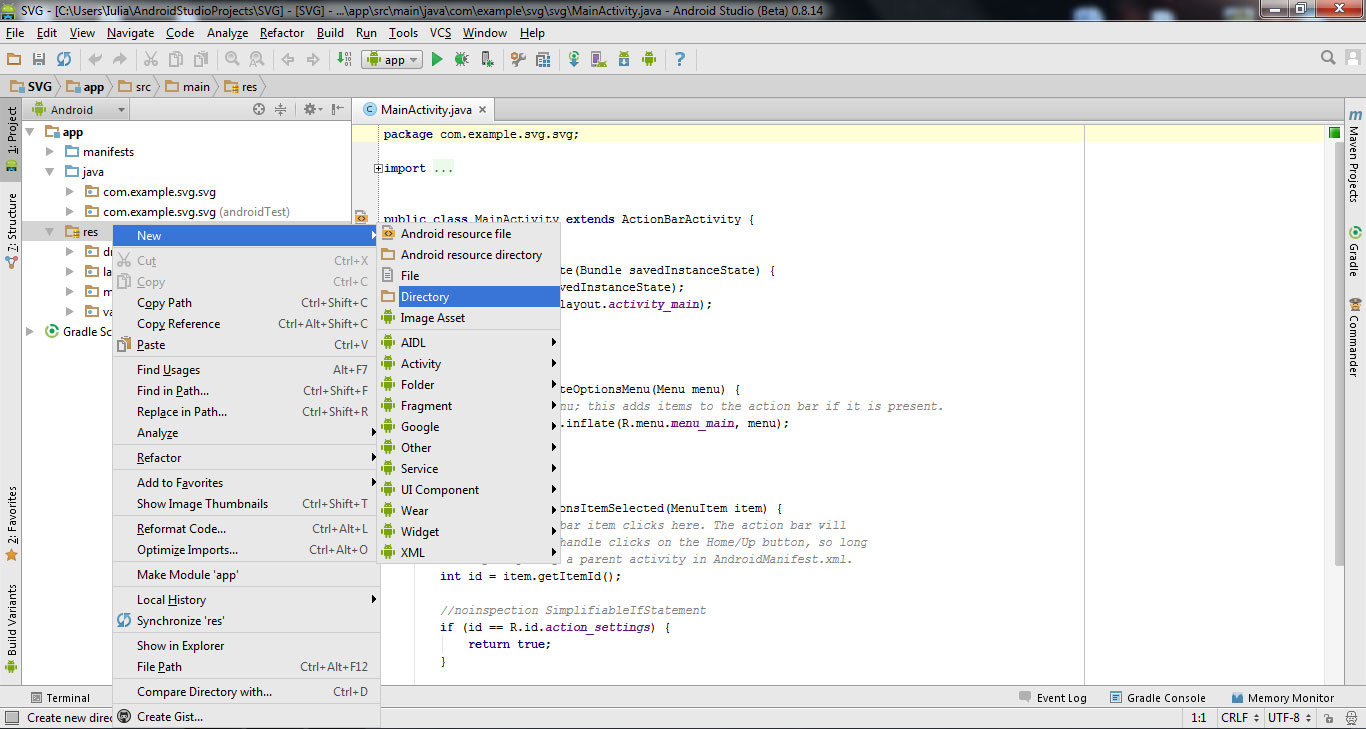
Name New Directory: raw.

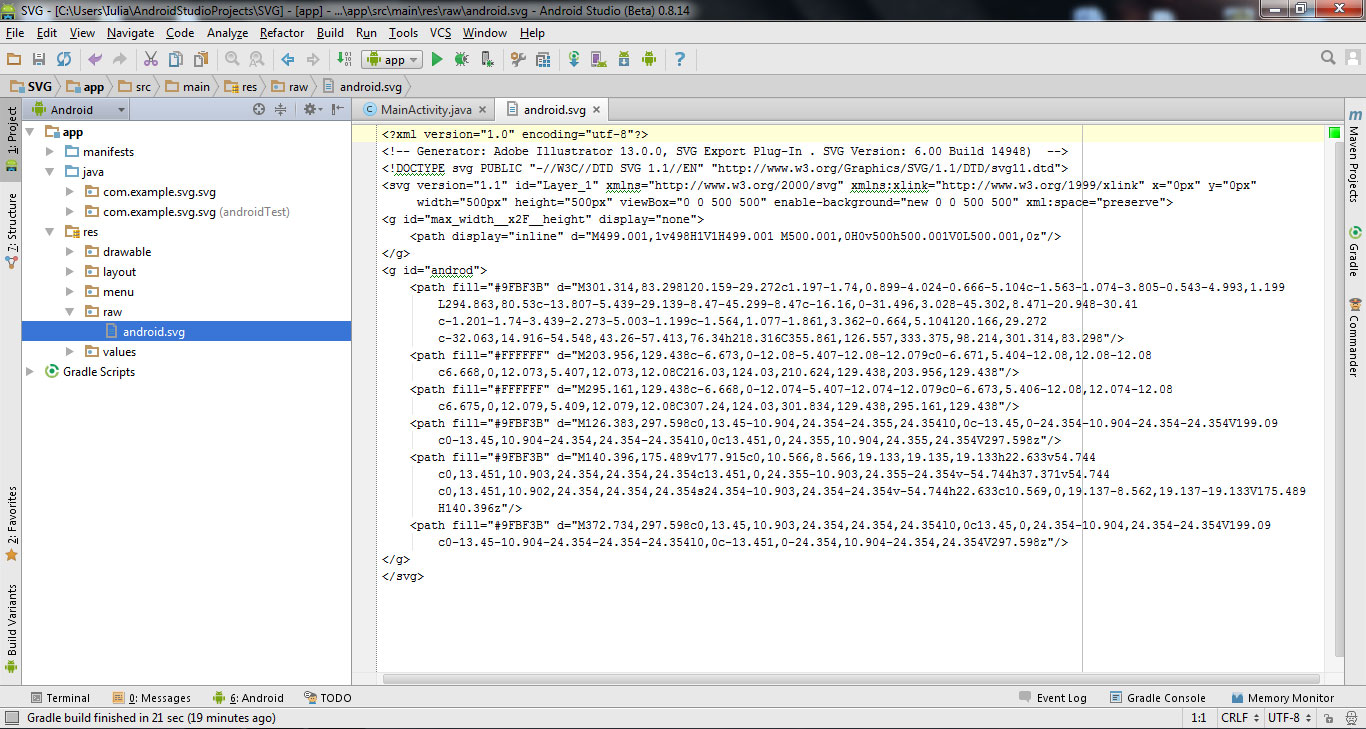
Click here to download the archive with SVG file. Unzip the archive and put the file android.svg (with copy-paste) in the newly created folder raw.
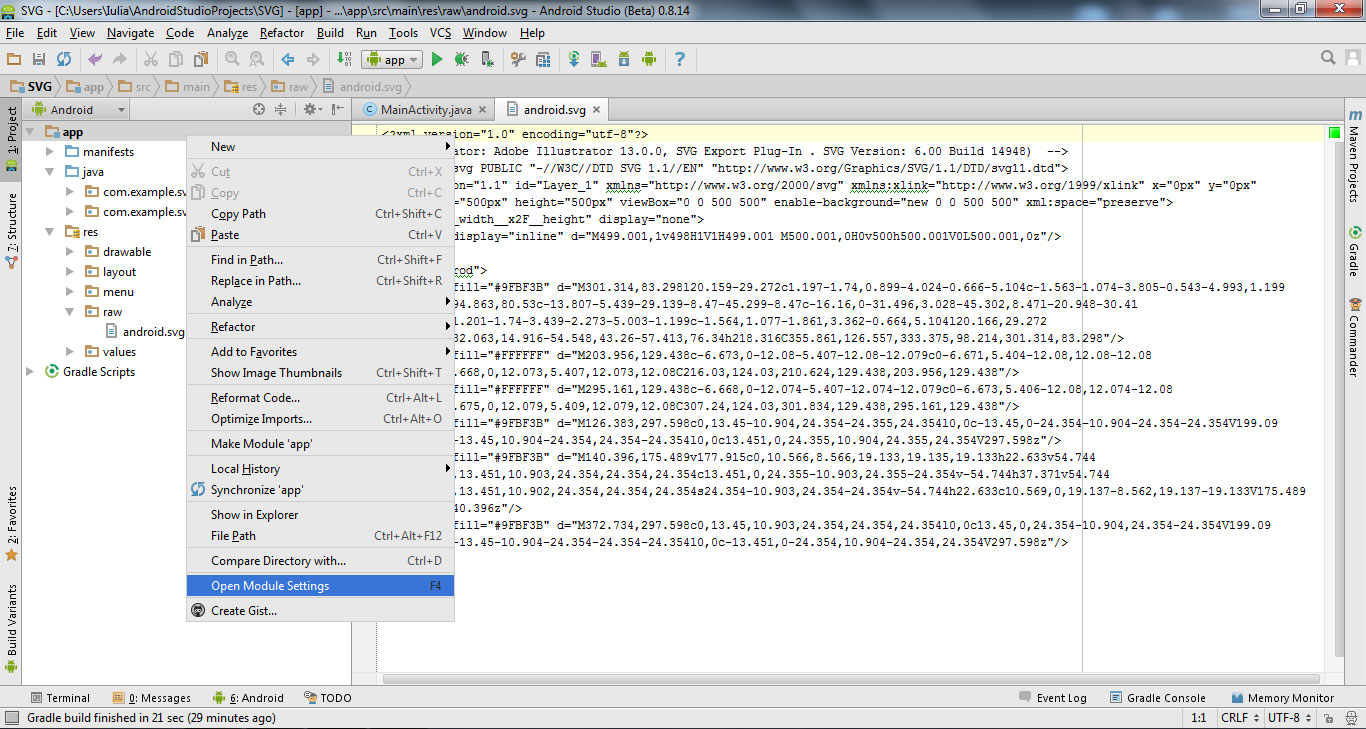
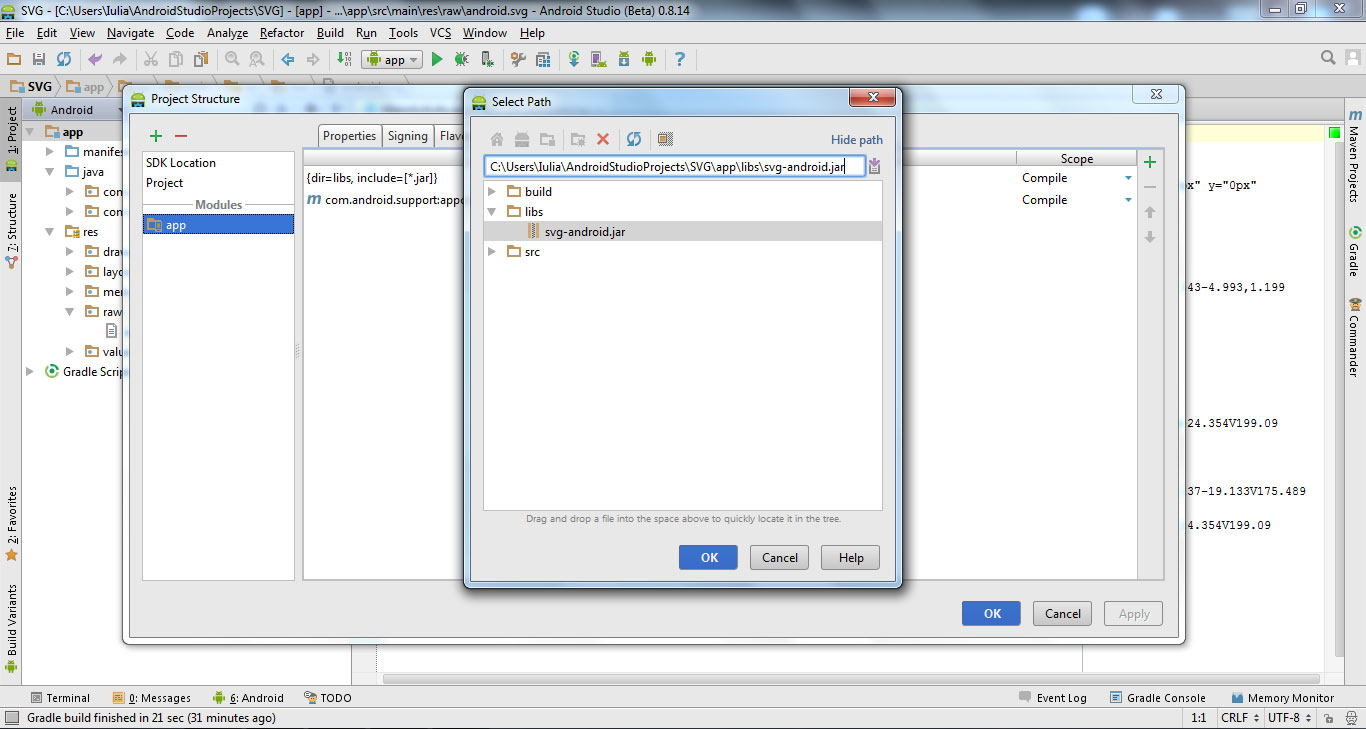
Click here to download the jar file and put it (with copy-paste) in the libs folderof our project. Right click on app folder of project and choose Open Module Settings.
Click on Dependencies tab, click on + and choose File dependency.
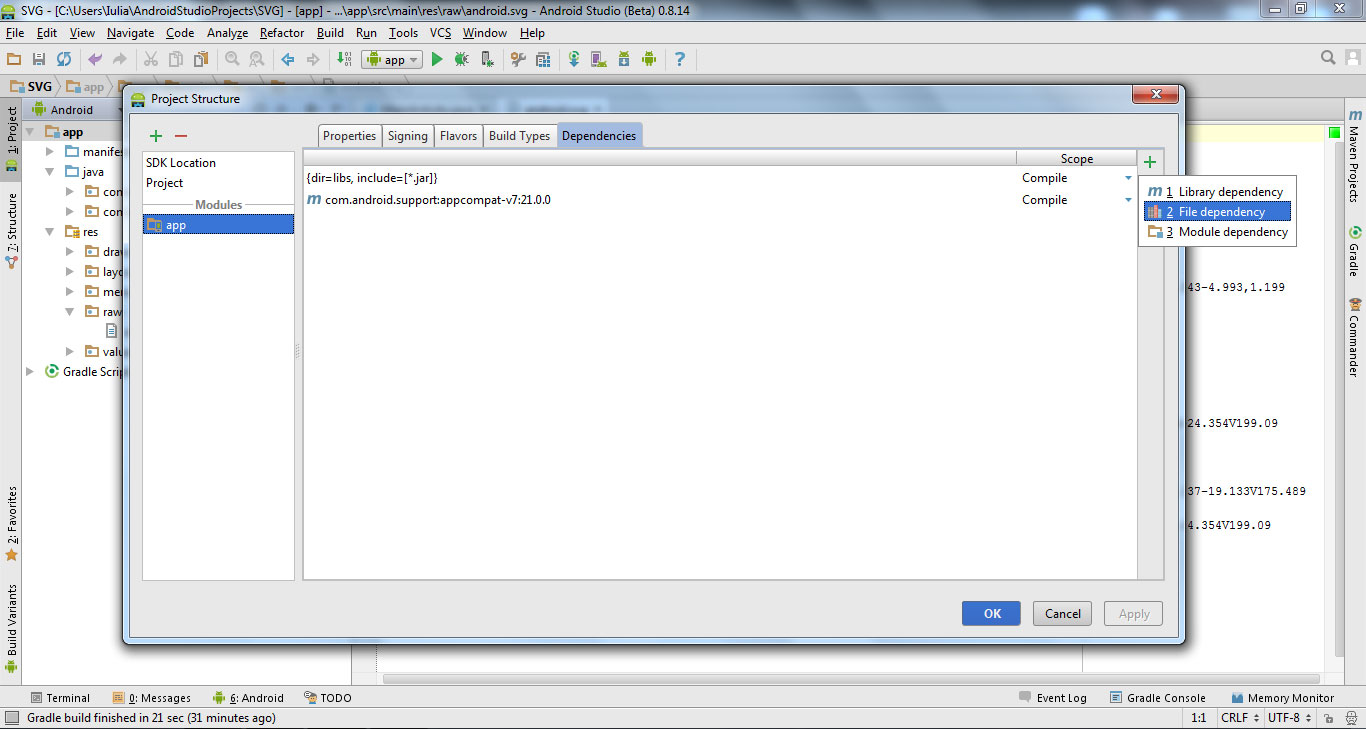
Write the path of downloaded svg-android.jar.
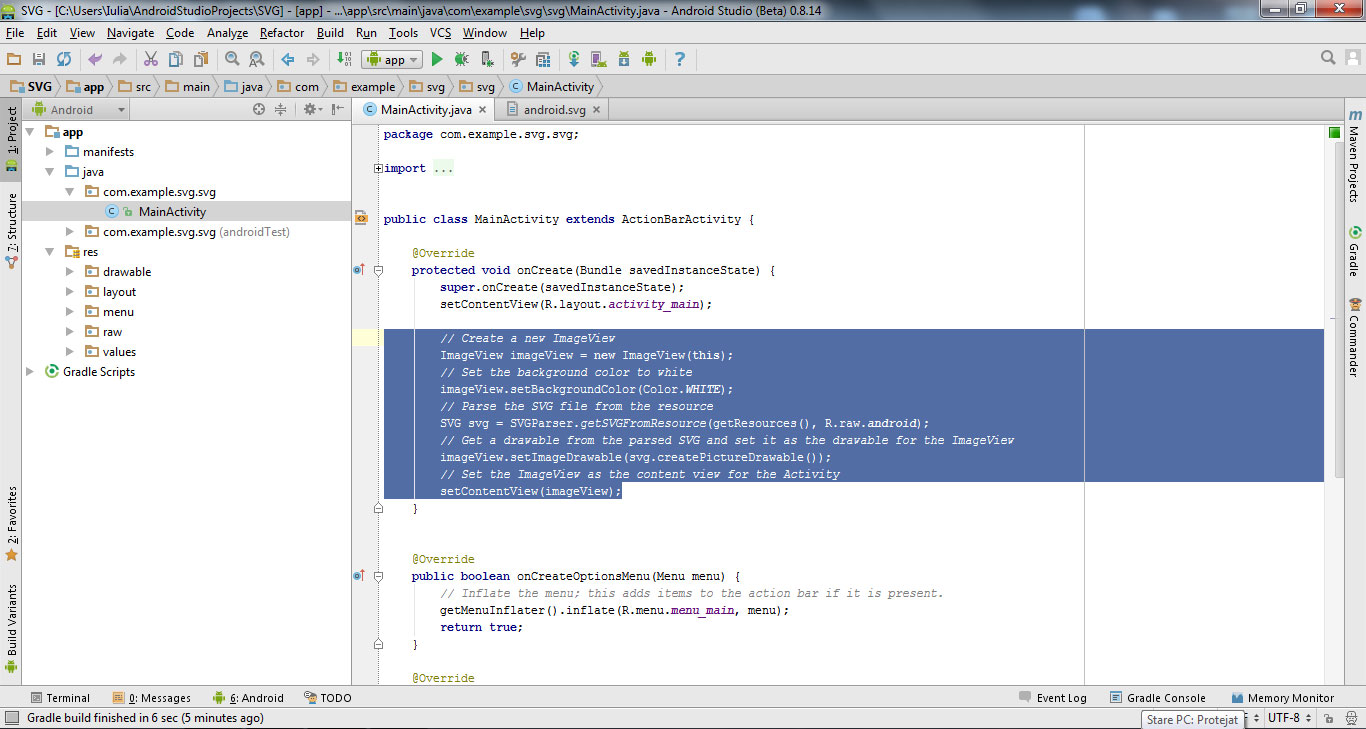
In app -> java ->MainActivity.java file write the following code:
        // Create a new ImageView
        ImageView imageView = new ImageView(this);
        // Set the background color to white
        imageView.setBackgroundColor(Color.WHITE);
        // Parse the SVG file from the resource
        SVG svg = SVGParser.getSVGFromResource(getResources(), R.raw.android);
        // Get a drawable from the parsed SVG and set it as the drawable for the ImageView
        imageView.setImageDrawable(svg.createPictureDrawable());
        // Set the ImageView as the content view for the Activity
        setContentView(imageView);
Click on each of the words in red and press Alt + Enter.

Run the application and see the result. The SVG file was successfully integrated.

Download here the project with all files.
Download here the application for mobile phone.
Watch the video tutorial to integrate SVG file in Android Studio:
For further questions leave a message.
Comments
Post a Comment